DIY Paper Bag Leaves on a Branch
I Love Fall Most of All!
While I’m still showing you fall decor, the Christmas holiday items have hit the stores. The seasons move way too fast for me. Ugh!
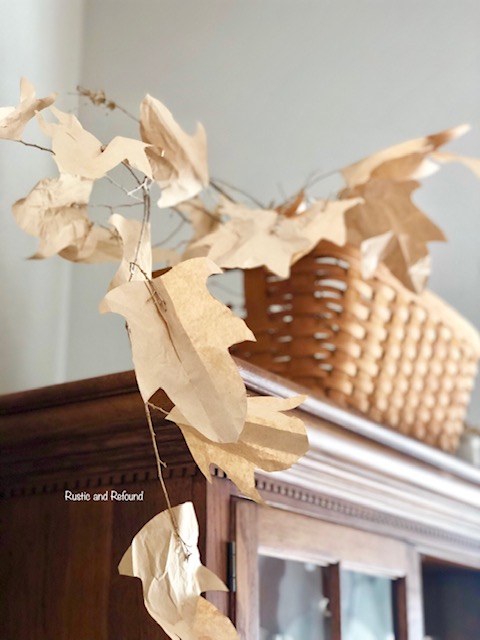
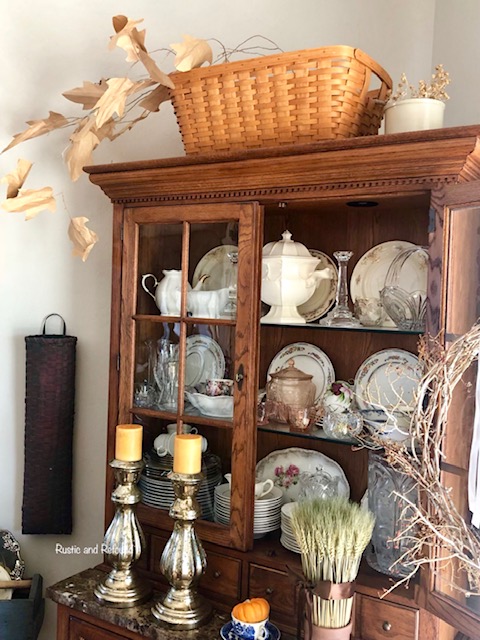
A while back, I went in search of a large branch of neutral fall foliage, everything was sold out. I wanted something to fill this space above my hutch that said Autumn. So, if you remember back when, in a spring post, I made flowering branches using tissue paper and real branches. I decided that I could probably create an Autumn branch using the same concept with a branch and larger leaves. When it comes to natural autumn- stepping just outside your door to find inspiration can be the perfect place to start.
Here is what I did.
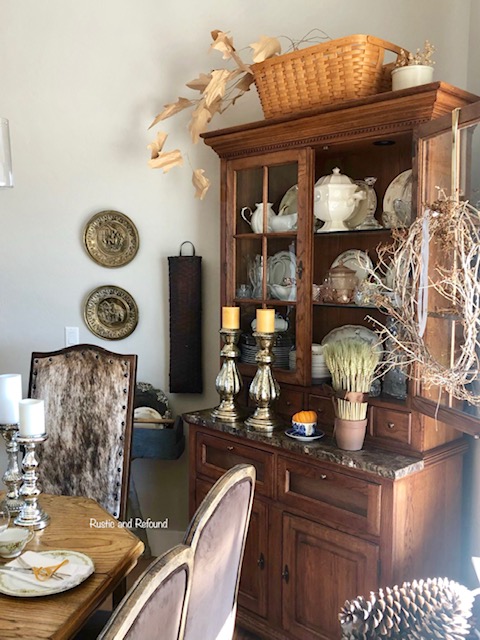
I love putting together affordable DIY’s that anyone can tackle. I will try inspirational projects and try to put my own spin on it. This large fallen tree branch is covered with leaves made from brown paper bags! It looks a bit dramatic and somewhat realistic and cost me next to nothing.
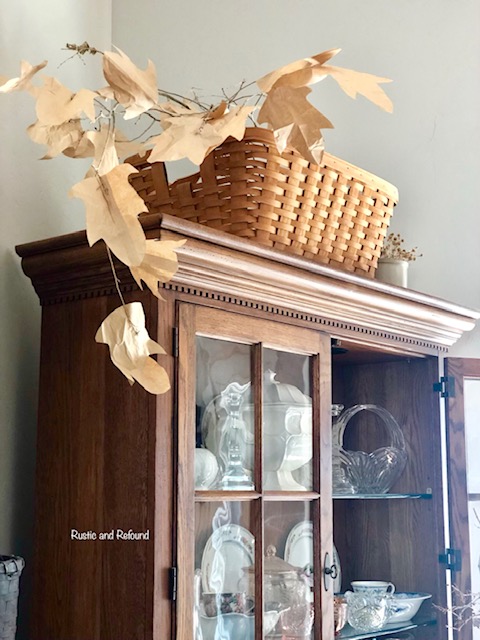
Decorating with Brown Bag Paper Leaves
For me, it is all about autumn and cozy natural elements.
What you will need:
- Brown paper bags – lunch bag size
- Scissors
- Fallen tree branch
- Hot glue gun
- Leaf pattern
Step 1
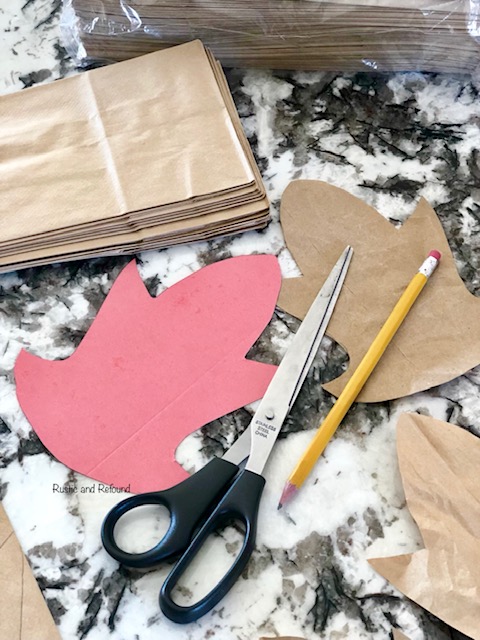
Create, design your leaf pattern and trace it to card stock or card board.
Step 2
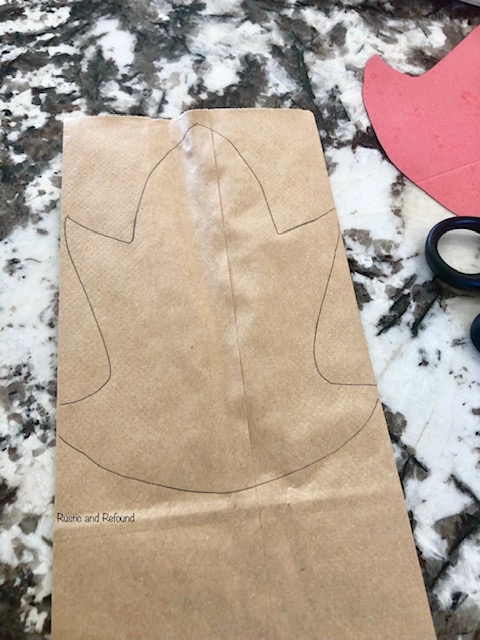
Trace the leaf pattern on to your brown paper bag and cut it out.
Step 3
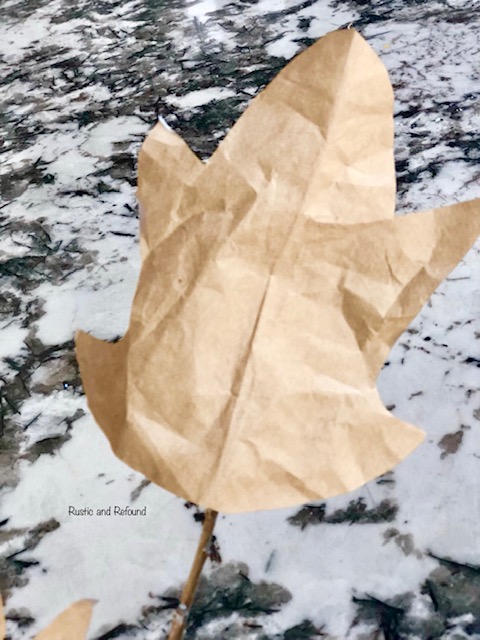
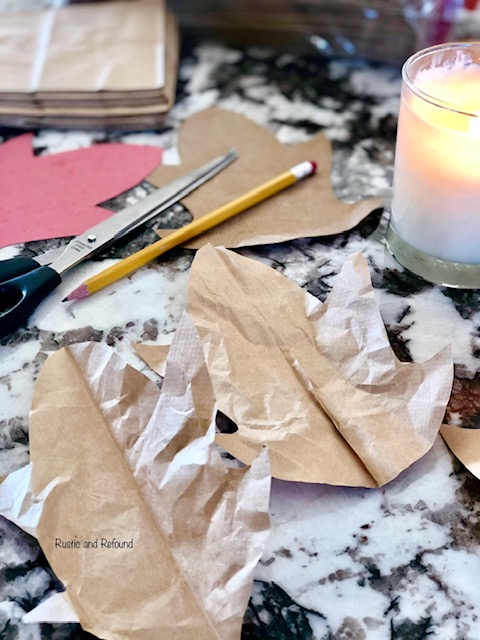
Crinkle your paper leaf to add depth and dimension.
Step 4
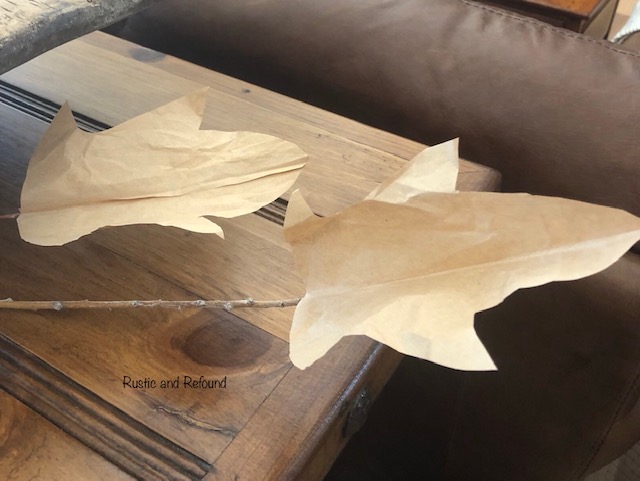
Attach – glue your leaf to the branch.
Step 5
Continue gluing your paper bag leaves to the branch until you reach the fullness you desire.
Step 6
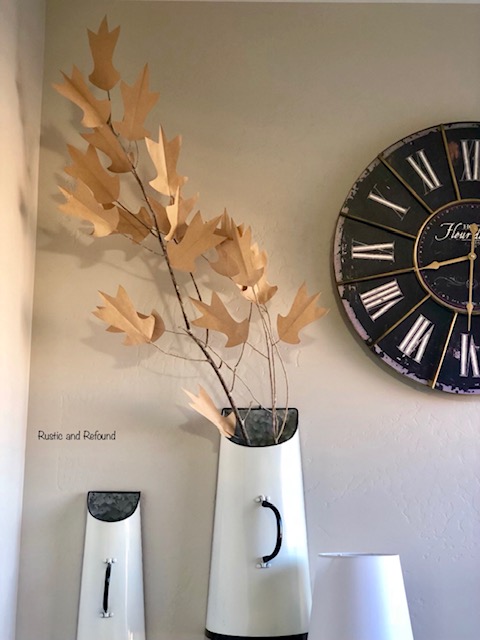
Add your autumn branch of neutral leaves to a basket, bucket, or vase to incorporate into your home decor.
What do you think of this simple budget friendly solution for an autumn branch?
Just a little wild west stylin’ for my wild west livin.’
Happy Wednesday all!
