This Is How I Made a Spring Wreath
A Pink and White Forsythia & Apple Blossom Wreath
Hey Ya’ll, Spring is right around the corner!
This is how I made a spring wreath for my front door. And… that means front porches, doors and walkways will be getting a bit of spring cheer & a face lift, from wreaths to pots of flowers, & additional front porch decor.
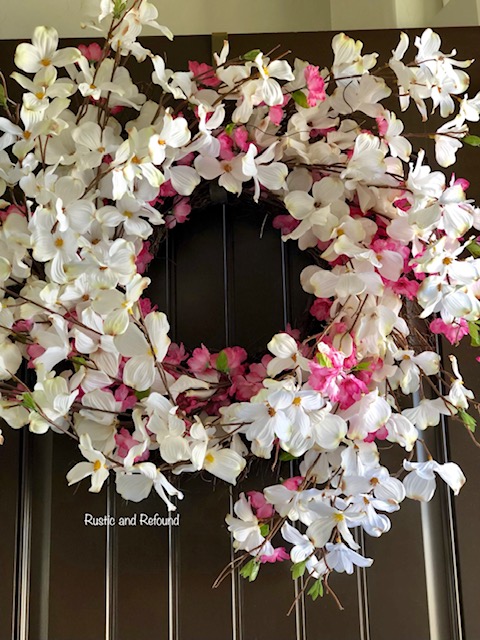
With not much in bloom here, right now, in the high desert my faux Forsythia/Apple Blossom wreath certainly is. She’s bright & bold, & an upcycled treat. Maybe a little on the rustic & refound.
A simple way to add a bit of charm to your front porch is to add a pretty wreath. I love wreaths for the different seasons, and I love to put them on my doors. I even put them on doors inside my house. Keeping in March with the seasons.
My DIY Wreath – An Upcycling
What you will need:
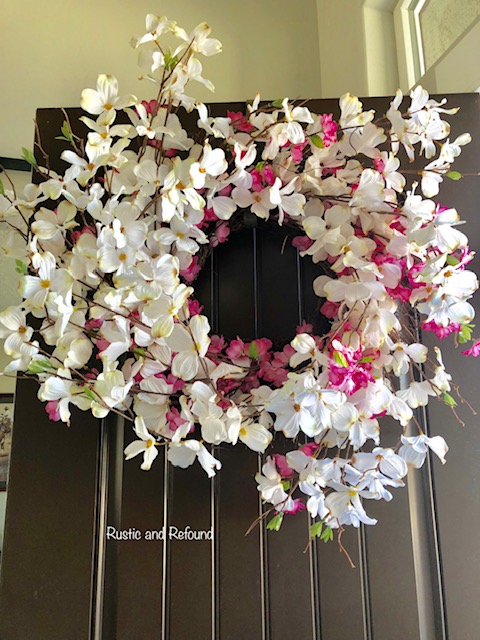
- Grapevine wreath – with or without flowers on it. (I already had the grape vine wreath with the pink flowers. It was a purchase from several years ago.)
- 6-7 Forsythia or Apple blossom branches
- small gauge wire or floral wire (I pre-cut sections of wire at about 10-12 inches)
- wire snippers or needle nose pliers
What I did – This is how I made a spring wreath.
Step 1. Lay-Out the Original Grapevine Wreath
After laying out the grapevine wreath, I placed a few apple blossom branches along the wreath getting an idea as to where to place the white apple blossom branches. I then began by attaching the white flowering branches.
.

Step 2. How I attached the faux branches
I slightly bent & curved the branches around and then pushed them into the grapevine wreath.
I didn’t put too much effort into bending the branches as I wanted to emphasize volume.
Place the branch where you want it on the wreath, then pushed the branch into the grapevine. I did not cut any of the flowering branches. I just kept adding apple blossom branches and pushing them into the existing wreath and wired some of the branches in place as I went along.
Using the small gauge wire I attached the branch to the grapevine. Place the branch where you want it and push it into the grape vine wreath. It gets a bit snug, so you may have to man-handle it a bit. Remember, you’re the boss! I slightly spread the the flowering stems apart as to give the wreath fullness and volume. I kept layering on the apple blossom branches to the forsythia wreath… going in the same direction.


Once you hold up the wreath you will know where you may need to add wire. Using wire, wrap it around the flowering branch and tuck the wire through the grapevine and twist – tie it in the back of the wreath so the wire is not visible from the front. You may need to play with the wreath, so you know where the branches need stability.
Step 3. Adjusting the stems
To Keep the flowering stems looking more natural, I didn’t spend too much time bending the flowering part of the stem as I wanted the volume and a bit of a wild look & waited until it was hung up. I also did not wire all the branches in place as I waited to get a visual on where branches may be a bit loose. I went for a casual look.

If you see a bare spot, you can simply cut a small flowering section and add it to the spot needing more flowers.
Step 4. Final Adjustments – This Is How I Made a Spring Wreath
Lastly, I hung the wreath and went back and bent the branches in certain spots to align some of the outliers and give the wreath a bit more of a spherical shape.
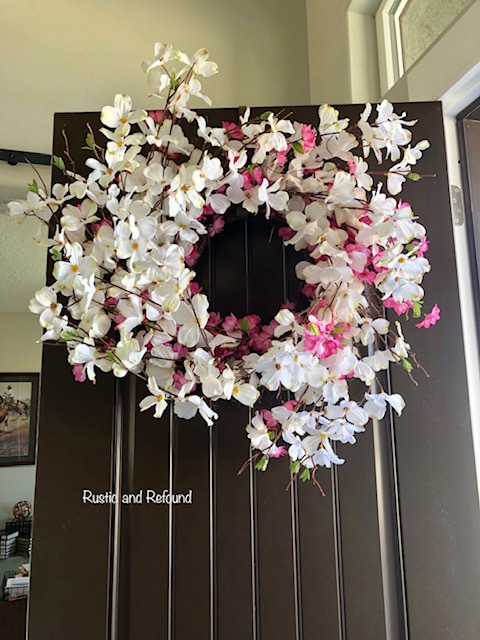
The pink forsythia wreath was quite small on my 8-foot door, but by adding the white flowering branches it gave the existing wreath more volume and presence. I love the more variegated look with the mix of colors of pink and white as well. You could certainly keep it all one color if you so choose.
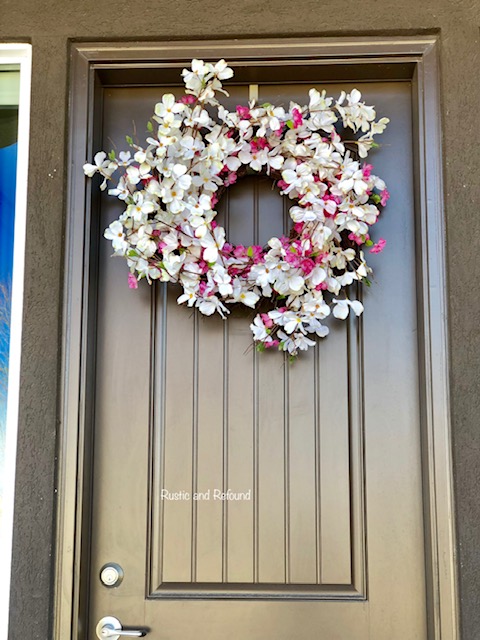
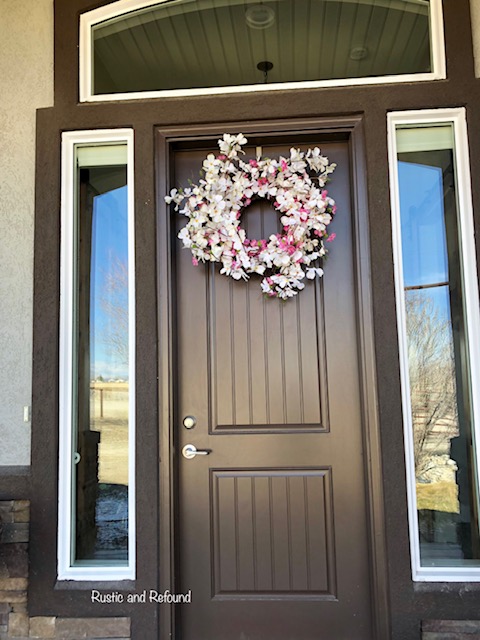
My wreath adds a ton of charm to the front door.
What do you think of how this wreath turned out?
A simple upcycled project that can be easy on the budget and less to the landfill.
I hope you found a little spring budget inspiration.
When we are having those days when the sun shines hot, and the wind blows cold. Just remember, warmth & sunshine are just around the corner.
Thanks for stopping by the blog today and letting me share my spring DIY. This is where a little wild west stylin’ is for my wild west livin’.
See more Spring ideas here.

