DIY Autumn Leaf Luminaries
Autumn Luminaries

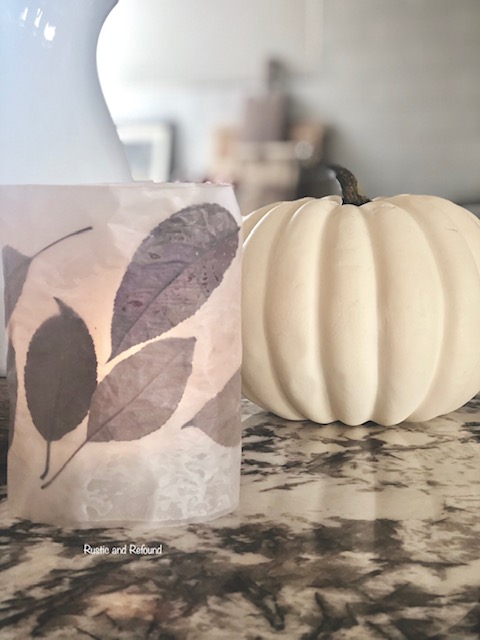
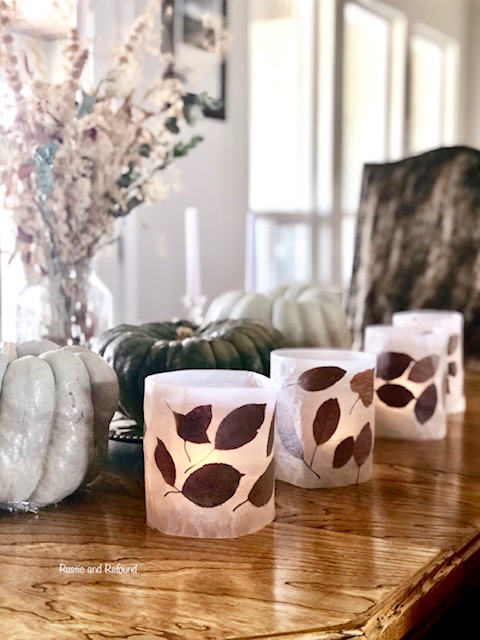
DIY autumn leaf luminaries. The Autumn season is the gateway to those long chilly winter months where the days are shorter, and we head to the house to get cozy. Around my house that means candlelight and warm fires in the wood stove.
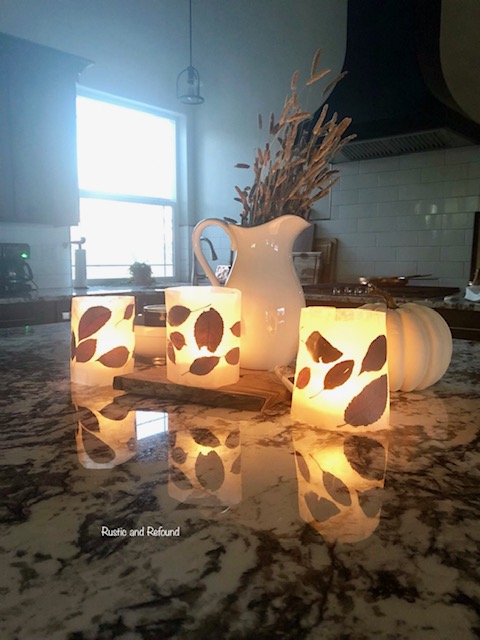
So these DIY Autumn leaf luminaries just seemed the things to make. They are the perfect project for this time of year and they look elegant!
These Autumn luminaries are a fun project and most of all you can make them with your littles.
How To Make A Luminary
What you will need:
-Leaves (varying colors)
-Wax paper
-Iron
-Thin towel/rag – (flour sack type)
-Tape or hot glue gun
Step 1:
You will want to gather leaves that are somewhat freshly fallen- not crispy as they will crackle and break. (Find varying colors.)
Step 2:
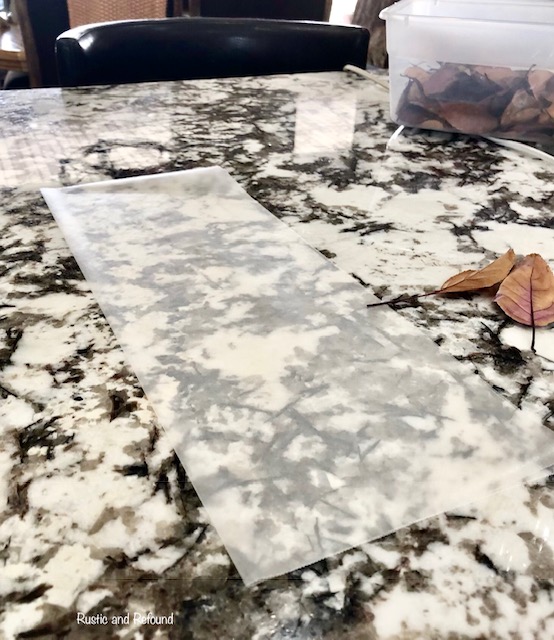
First, lay out the size of wax paper that you want your luminary to be. Using the glossy side (waxy) side up, lay out your leaves.
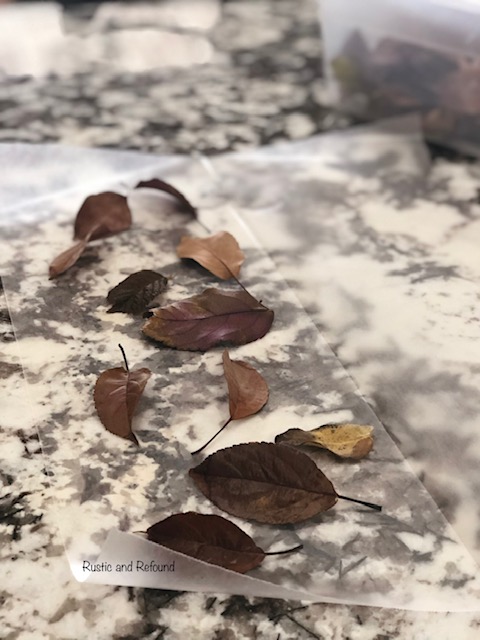
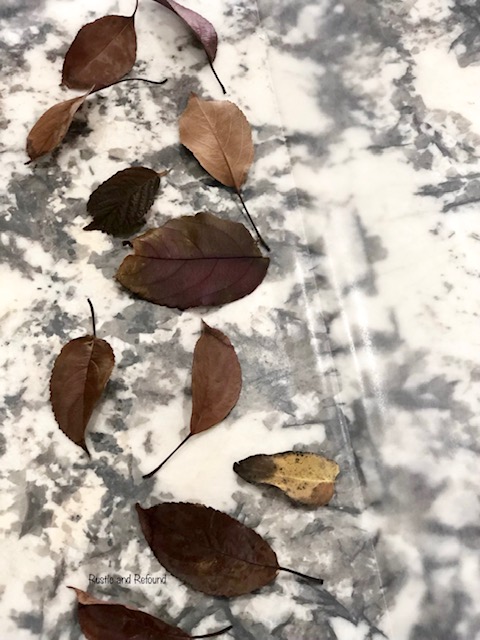
Lay the leaves in whatever design you choose. I just laid them out randomly.
Step 3:
Place another layer/cover of wax paper with glossy side toward the leaves or fold the wax paper over.
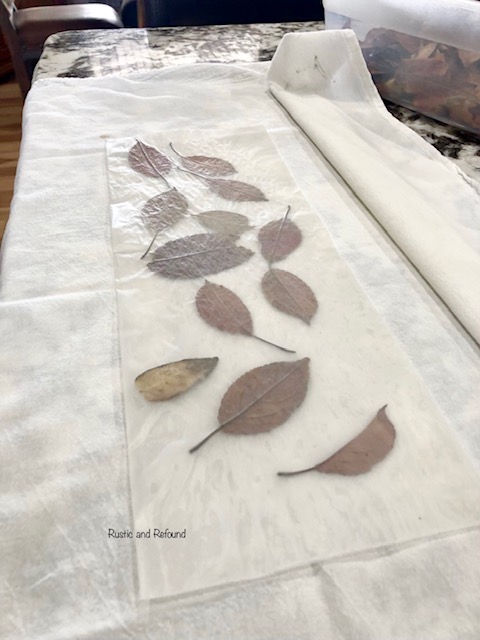
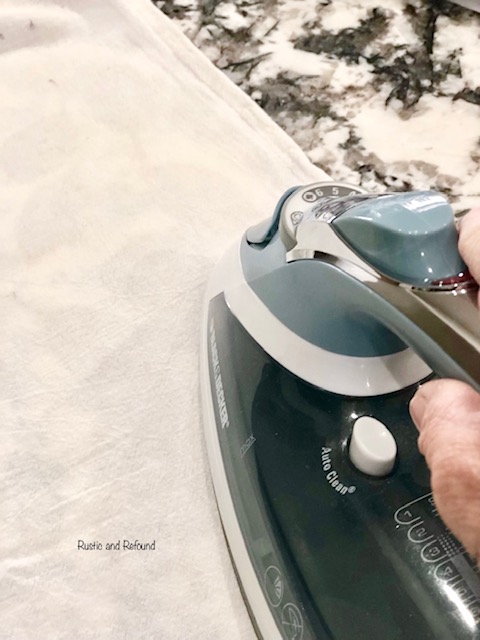
Step 4:
Iron the wax paper sheets together. (Place a thin towel on top of the wax paper to iron.) It is better to use a thin towel in between your iron and the wax paper so you don’t get any wax on the iron.
Step 5:
Roll in a tube shape and secure with tape or hot glue. I used hot glue by over-lapping the edges and glued.
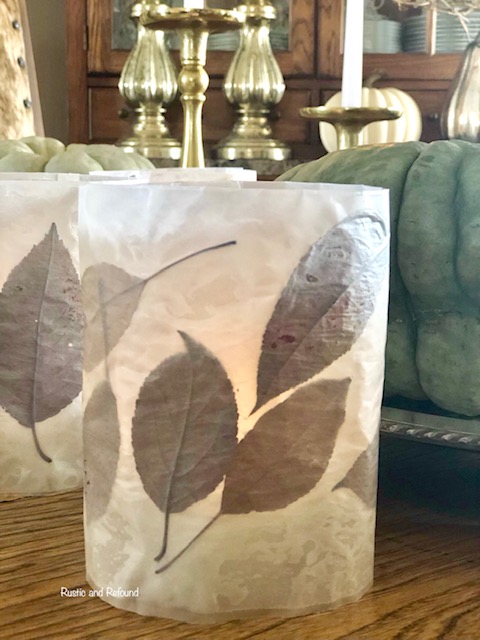
Place over a candle (battery operated is safest as wax paper can/will burn)
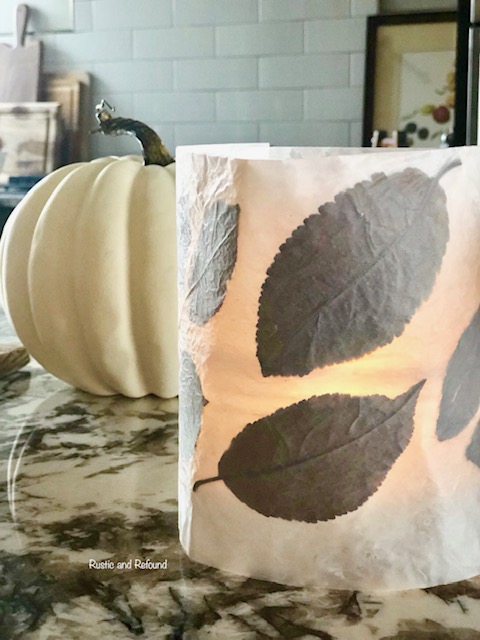
They really are so beautiful and elegant for Fall decorating!
I hope you enjoyed my simple DIY and have inspired you in some small way.
Happy Fall! Thanks for stopping by Rustic and Refound.


These are so cute!!!! I have lots of leaves in my yard!! I think I will have to do this!
Thanks Janie! I hope I have inspired you to give this a try! Enjoy!